THE PERFECT FALL PAINT JOB. FEATURING COLOR ATELIER PAINT.
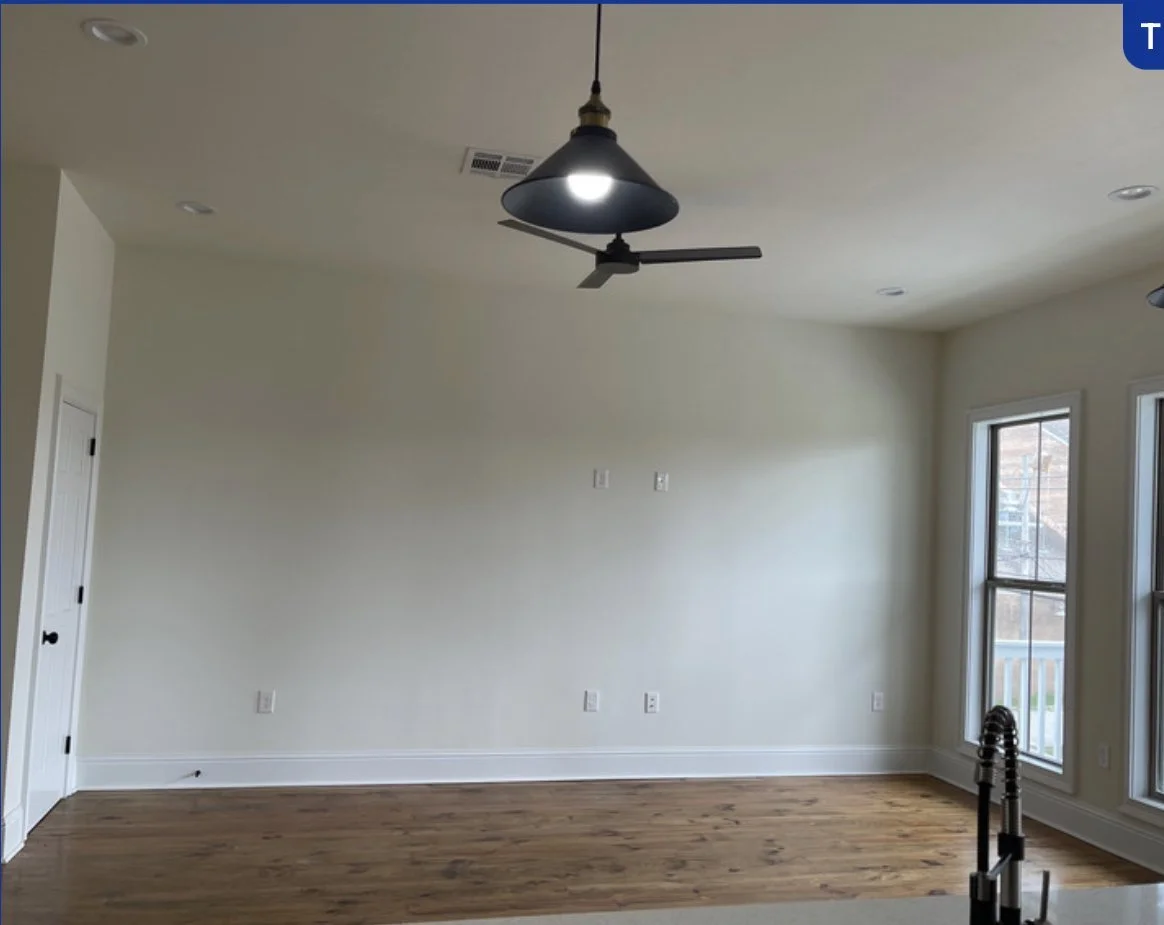
When we moved into this house a little over a year ago, I knew I wanted to fill it up with painted walls. The house I grew up in was full of color, and since I work from home, making sure my space was creative and pleasing to look at was important to me.
I wanted lime wash walls, but was VERY nervous about it. The process seemed super complex and time-consuming, and I wasn’t sure I wanted to commit to that style of paint. But the more I thought about it and looked at inspo pics, the more lime wash just felt like the right decision.
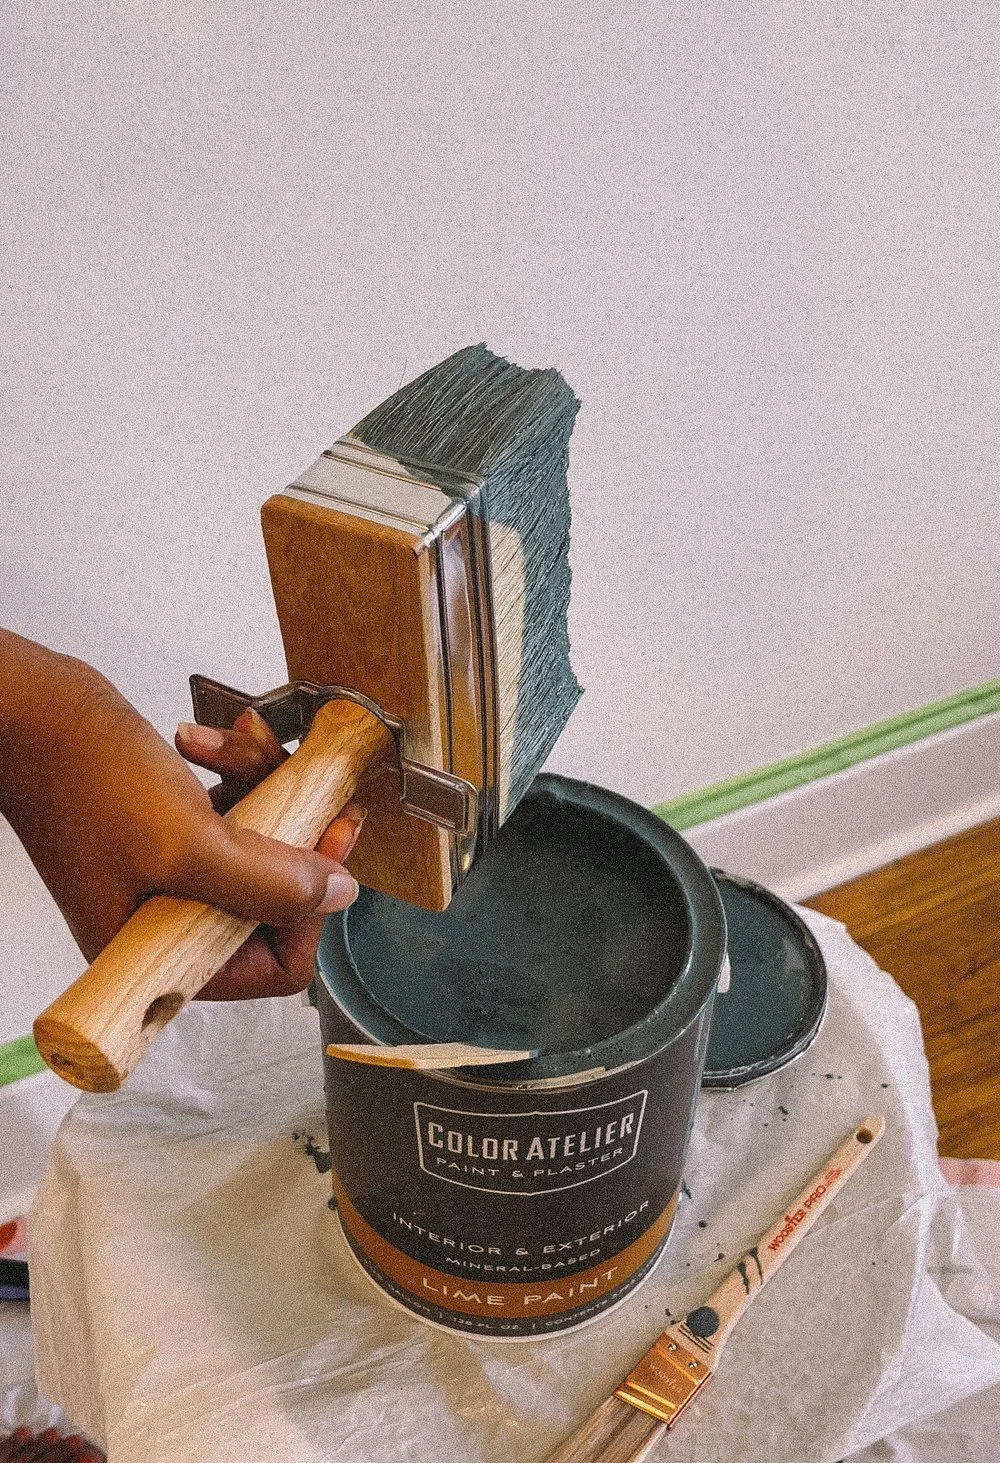
I decided to buy my paint from Color Atelier after some online googling and chose the color, Calypso Teal. (Not sponsored, just like the color a ton) I debated between this color and their other similar color ritual, but I’m glad I went in this direction — the color suits the feel of the room perfectly to me.
The Process
So, after MONTHS of the paint sitting in my cart, I finally pushed the button and purchased a gallon of the paint color, a gallon of the primer, and the special limewash “block” brush.
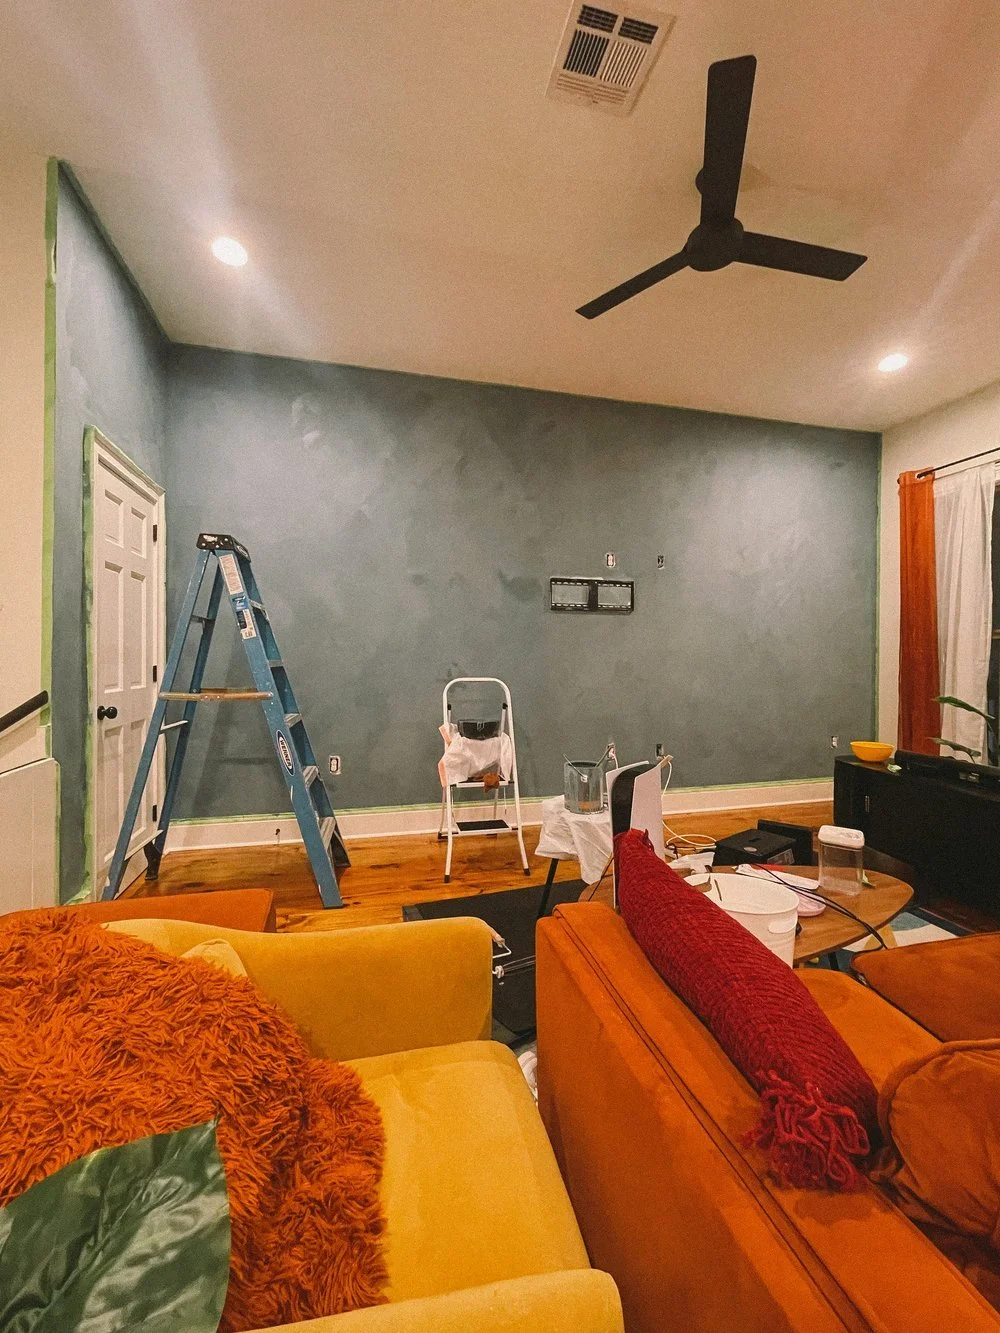
Step one was removing the shelves I put up and filling in some old holes in the wall. We made the decision to leave the tv mount on the wall and just paint around it. To me, it wasn’t worth removing and putting it back in just to paint such a small area that is covered up anyways.
Step two was priming the wall with the acrylic primer. This is not like regular primer, it’s super thick. It goes on easily with a roller brush, but it does splatter a ton. After I did the primer, I taped the wall off. Typically when I paint, I don’t use tape, but limewash is thinner than normal paint, and I wasn’t sure how it would bleed. I let the primer dry overnight to ensure everything would go on smoothly.
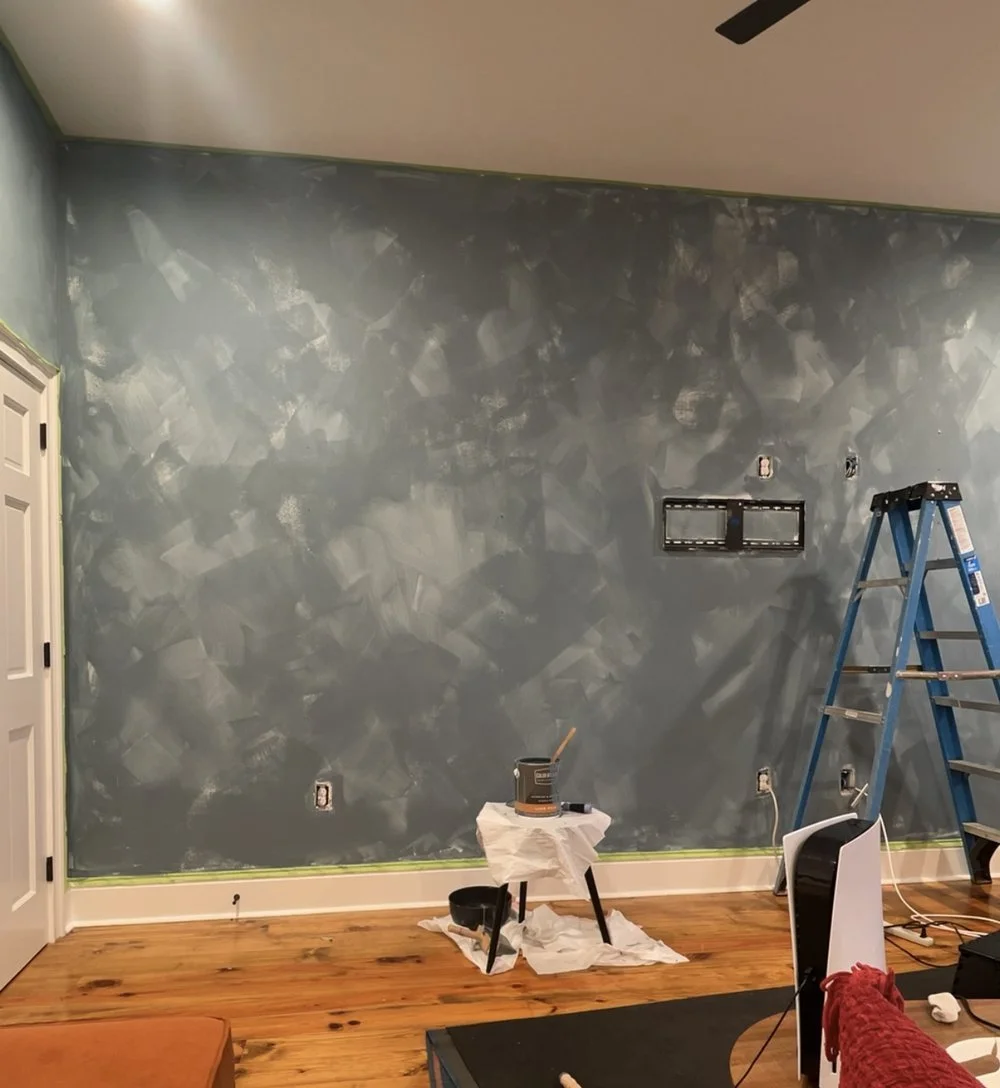
Step three (the next day) was the first coat of lime wash. This is where the process gets complex (sort of). Limewash paint can’t be applied with a roller or even a normal paintbrush. The concept behind it is it’s applied a bit sporadically to really give it the feeling of looking textured and velvety. So you create “clouds”. Basically, you paint in one area and spread the paint out as far as it will go, then start again in another area. For me, it was easiest to do this by painting “X'“ over and over and over again in the area in different directions. Once I completed one cloud, I moved to the other side of the wall and started again. Eventually, you begin to combine these clouds together, and then you have your first coat.
It takes longer than using regular paint but not a lifetime. It’s recommended to let your wall dry overnight, I let mine dry 6 hours before doing the 2nd coat.
Step four was the 2nd (and final) coat. I did mine slightly differently than how its recommended. In theory, you should just do the same thing you did for the first coat but without applying it in the exact same spots. Remember you want it to look textured, not totally even and smooth. However, I wanted it to look a bit smoother than how it came out (I realized down the line I hadn’t used enough paint on my first coat). So, I applied smaller clouds/Xs in a line going up and down the wall. Basically, I started at the top, worked down to the bottom, then from the bottom moved slightly over, and starting from there, went back to the top, repeat.
I made sure to fill in any white spots using up/down and side-to-side brush strokes once this process was done.
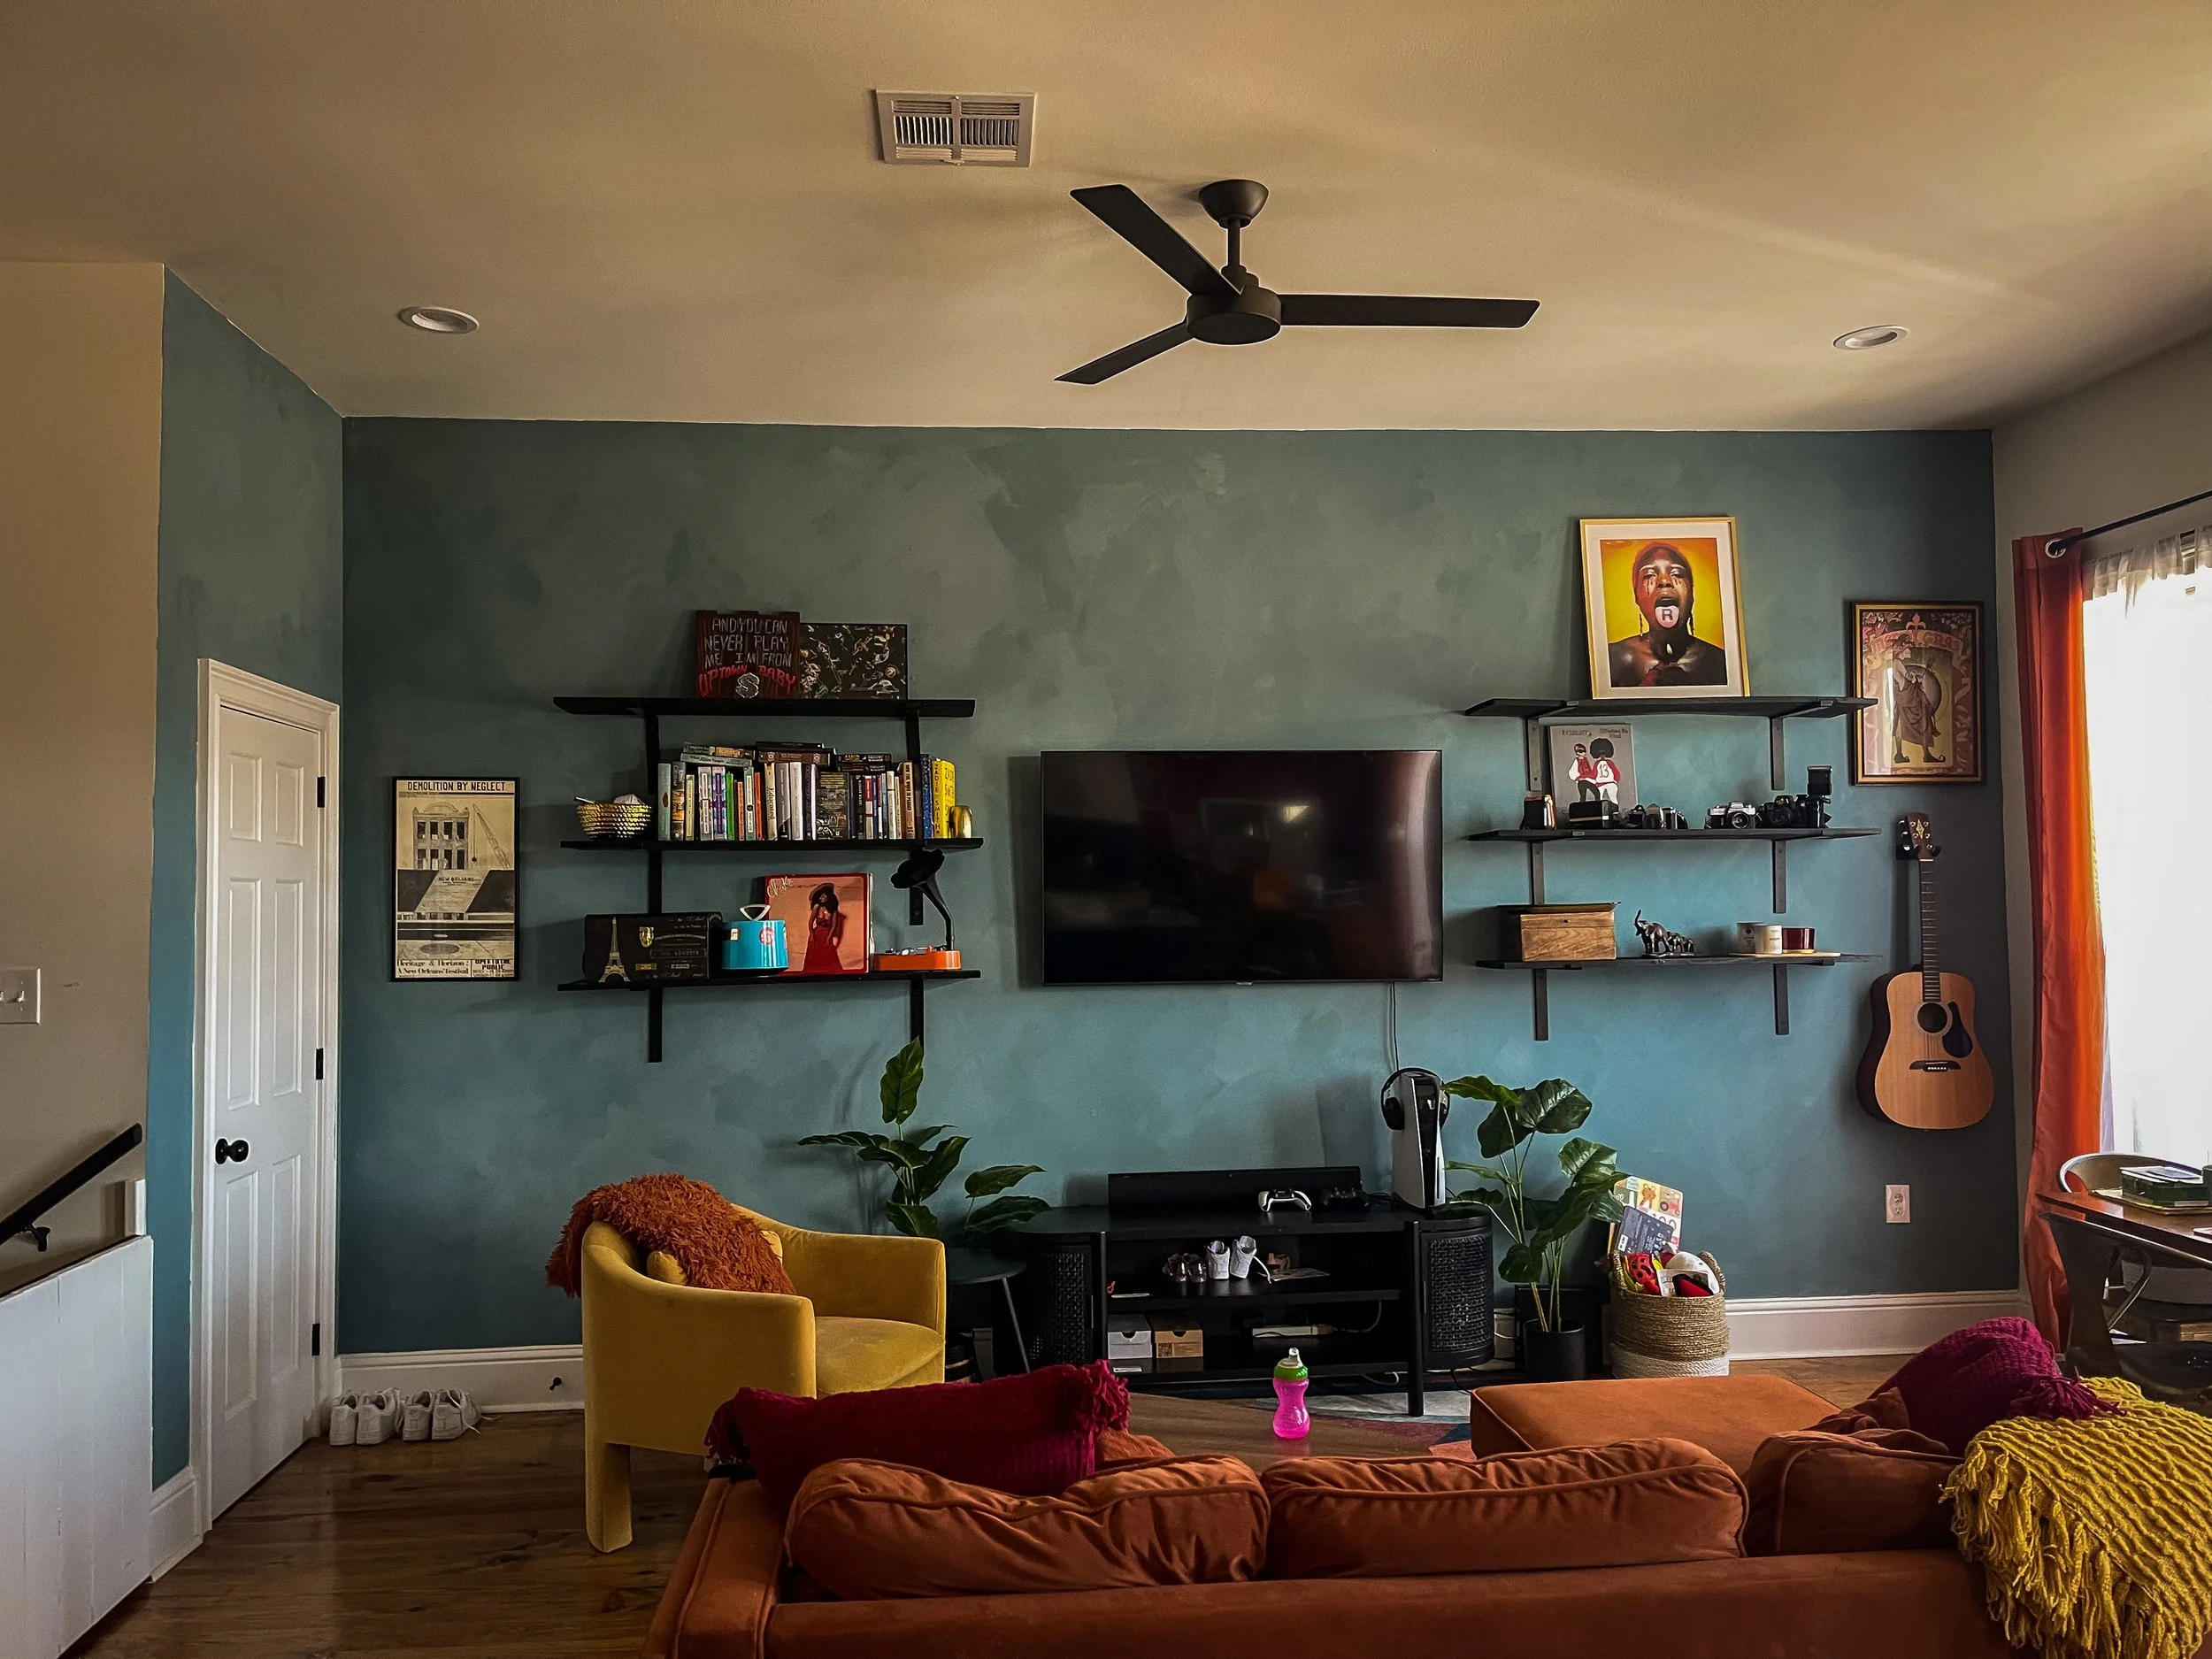
Step five was letting it dry and putting everything back! I am SUPER happy with my final product. It looks great with our furniture and new rug. I’m already plotting on limewashing our bathroom as well. Photos of the finished room are below!
Also, just FYI, I def didn’t even come close to using the full gallon of primer or paint, if I did another coat or another wall, it would have been the perfect amount with likely none left over.